When your Asus gaming laptop gets noisy, overheats, or suddenly slows down, it’s often a sign that the ROG fan is noisy or the TUF fan is not spinning properly. Fortunately, replacing the fan module is a manageable repair that can restore proper cooling and performance. In this guide from Asus Accessories, we’ll walk you through how to identify fan bearing noise or RPM drops, access the fan shroud, replace the fan modules (left or right), reassemble correctly, and perform a fan test using MyASUS.
Asus Accessories is your trusted source for official, high-quality replacement parts and tools tailored to every Asus enthusiast. We boast a fully curated range from ROG fans to bottom cases and beyond. Browse our extensive inventory on the ROG spare parts page, including dedicated ROG fan modules, bottom cases, and even keyboards. We also stock essentials like FFC cables, replacement screws, and connectors. Count on authentic parts, reliable service, and confident repairs.
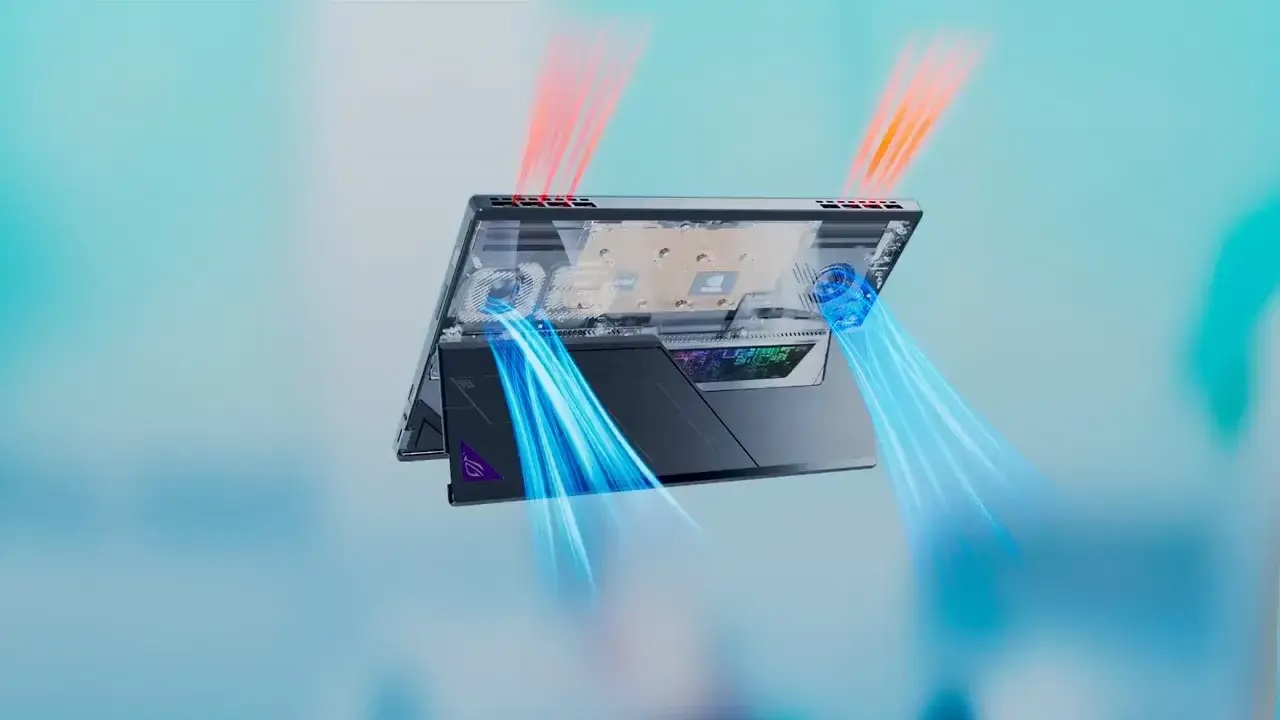
The Active Aerodynamic System (AAS) in certain ROG laptops lifts the chassis to create an intake vent, significantly increasing airflow for enhanced cooling performance.
Step 1: Diagnosing fan noise or performance drops
Start by listening for grinding, rattling, or scraping which are classic signs of worn bearings. Watch for RPM dips under load, thermal throttling, or sudden shutdowns; these often point to a failing fan.
Before you assume the fan is bad, try these quick checks (they fix a lot of cases):
- Hard, flat surface. Soft surfaces (beds/couches) block the intakes. Move the laptop to a desk/stand with a few cm of clearance.
- Clear the vents. Shine a light through the exhaust; if you see a gray “felt” of dust, blow it out from the exhaust side while holding the fan blades still.
- Background load. Open Task Manager at idle. If CPU/GPU are busy (>10–20%), close runaway apps, finish Windows Update, and run a malware scan.
- Power & fan profile. In Armoury Crate/MyASUS, switch to Performance/Turbo, disable any 0 dB/silent modes, and reset the fan curve. Update BIOS/EC if offered.
- Drivers & firmware. Install Windows/driver updates and run MyASUS → Diagnostics → Fan to check control signals before opening the chassis.
- Listen for non-fan noises. A high-pitched whine that changes with FPS is usually coil whine (harmless). A rhythmic tick can be a cable touching blades.
- Power adapter check. Use the OEM-wattage charger; under-powered adapters can cause throttling and heat.
- Safety check. If the bottom case is bulging or the touchpad clicks oddly, stop—possible battery swelling needs attention before any fan work.
If noise persists, RPM still sags, or the diagnostics flag the fan after these steps, proceed with the replacement: open the unit, swap the left/right fan module(s), then calibrate and test.
Step 2: Disassembling: accessing the fan shroud
Before repairing, ensure your laptop is powered off and disconnected. For even more in depth assistance, view a disassembly video on our YouTube Channel!
1. Unscrew and remove the bottom cover (bottom-case) to access the internals.
2. Carefully disconnect the battery and/or unplug the module. Clean workspace, anti-static precautions, and note screw positions are key.
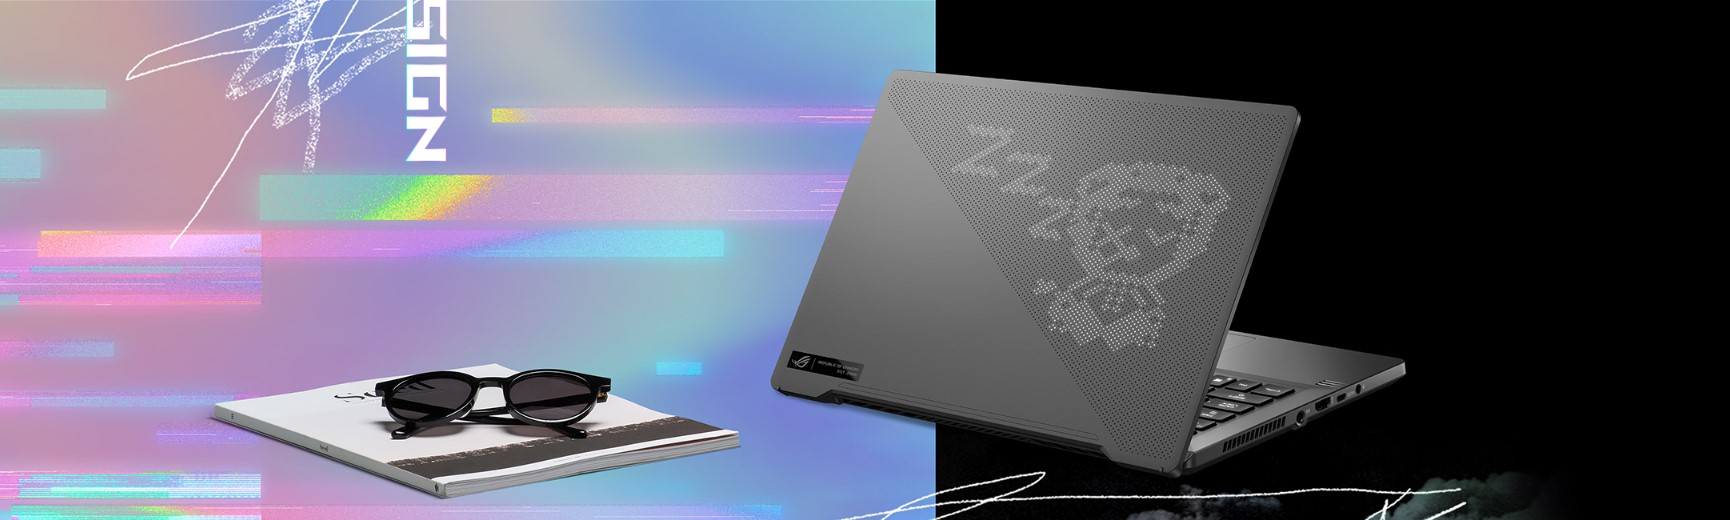
The G14 is kept cool by a combo of features, including a tri-fan system, a large heatsink with numerous thin fins, and for the CPU, a liquid metal thermal compound (which is more effective than traditional thermal paste).
Step 3: Removing the old fan module
Remove the screws securing the fan assemblies (the left fan may use three screws, the right two) and gently unplug fan headers from the motherboard.
Detach the fan casings by removing the five Phillips #00 screws. Three screws secure the left fan, and two secure the right fan. After doing so, diconnect the cables that link the fans to the motherboard.
These steps apply broadly to most ROG and TUF models, just adapt to your specific chassis design.
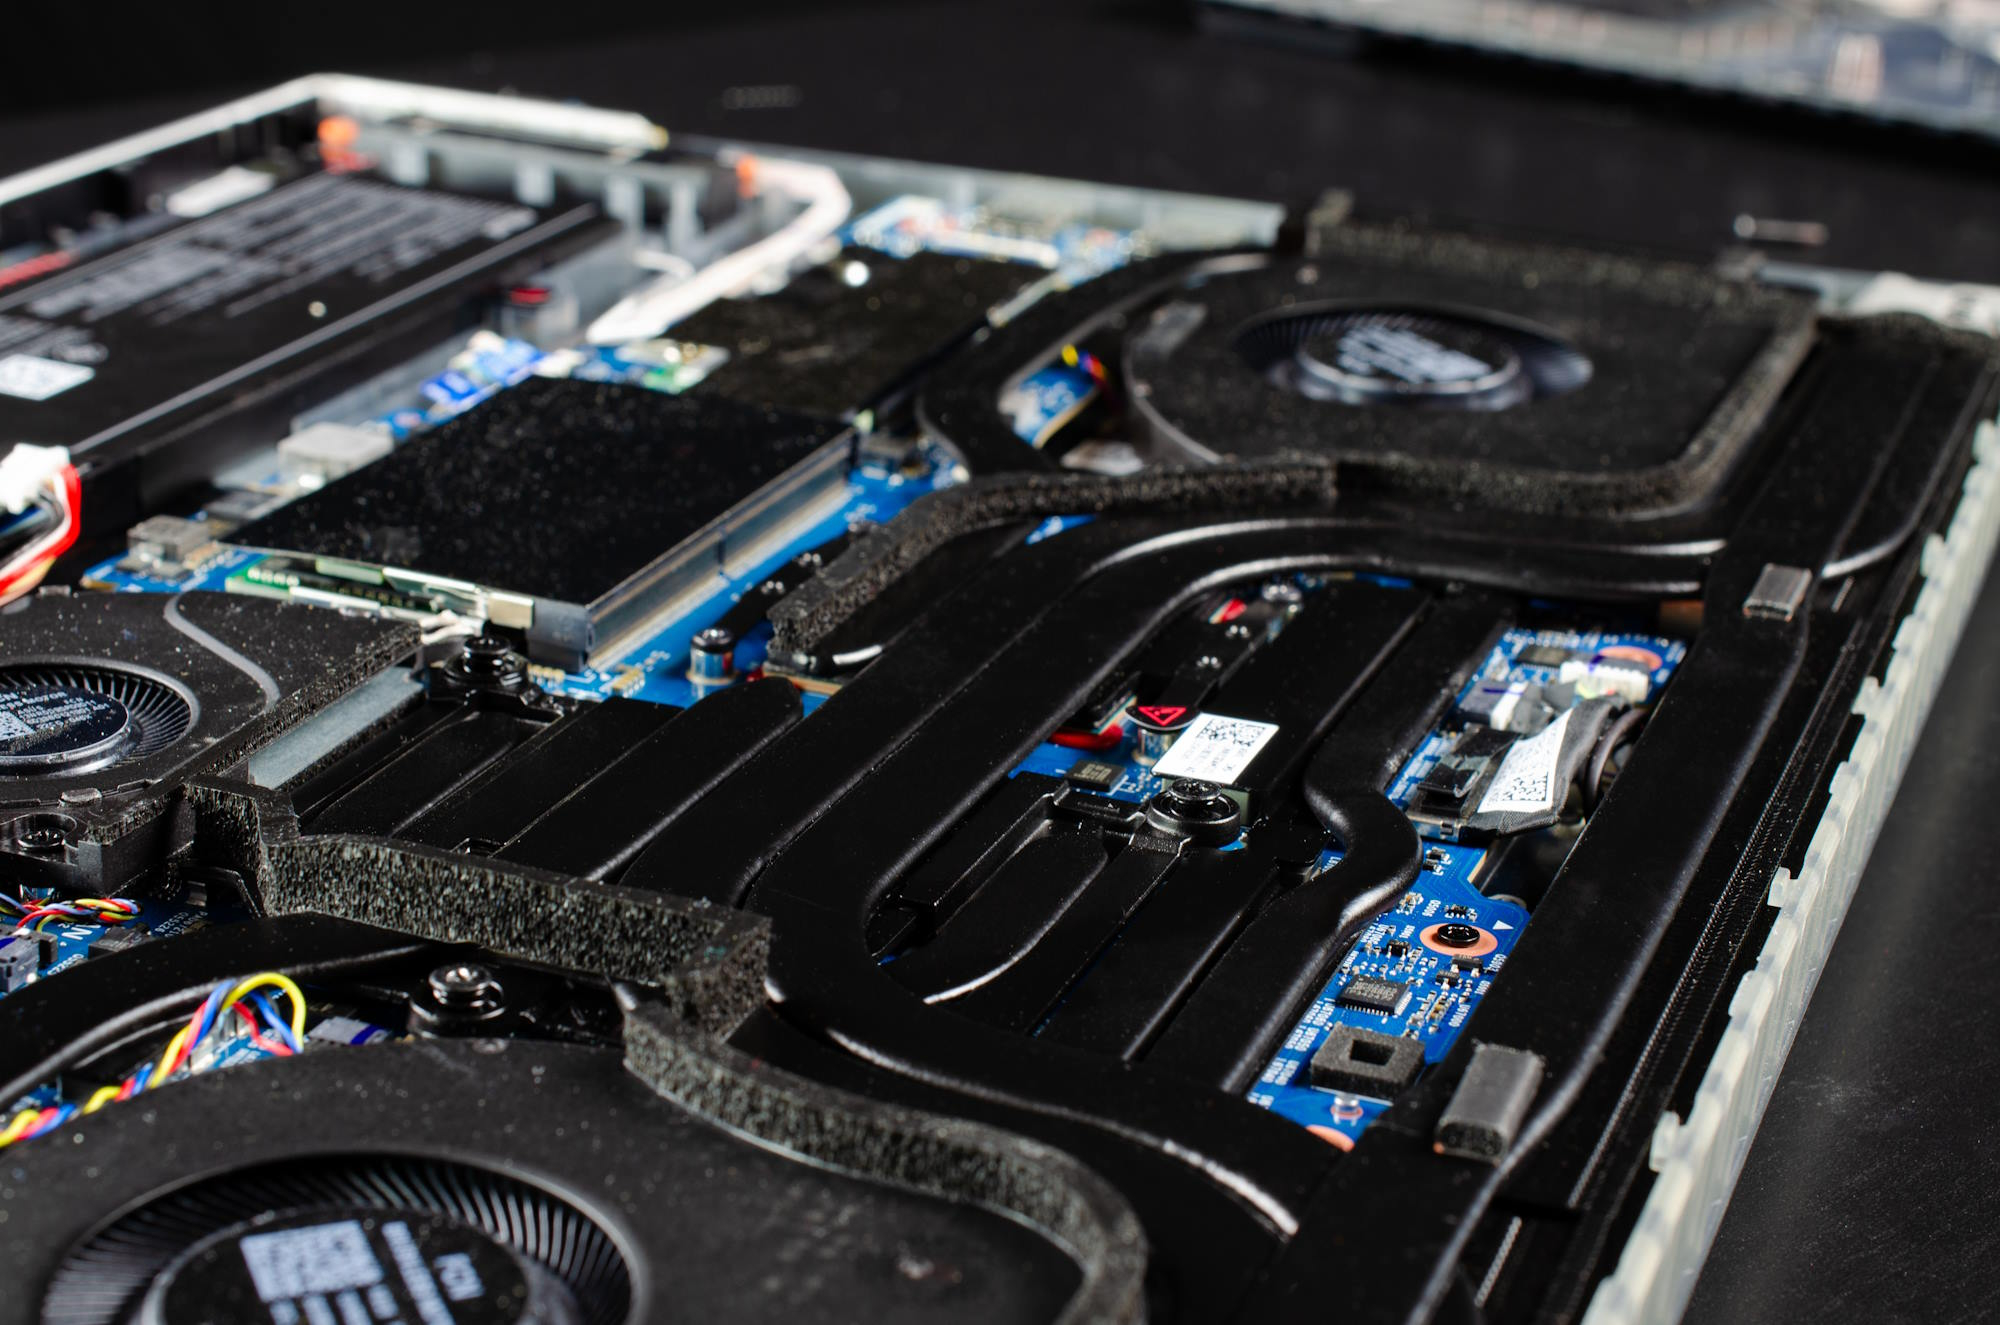
The Scar 18 features a large, full-width heatsink system that runs along the entire rear of the laptop. The heatsink is made with ultra-thin 0.1mm copper fins, which reduces air resistance and allows for better airflow.
Step 4: Installing the new Asus fan
To get assistance choosing the correct cooling system, we highly recommend you contact our team! If you send in your serial number, we will be able to match you with all the parts that are an exact fit to your device. That way, you can be absolutely certain the fan you order will be compatible!
After removing the old module, take your new fan (available via our ROG fan parts page) and align it carefully in the shroud. Secure with screws and plug in the connector (fan header) firmly. ensure the connector orientation matches motherboard alignment. Use an original Asus cable such as an FFC if necessary for your configuration. Proper alignment and gentle seating are critical to avoid damage.
Step 5: Reassembly
Reassemble the bottom case in the reverse order of disassembly. Make sure all internal cables are routed clear of the fan blades, and that no screws are over-tightened.
Step 6: Fan test with MyASUS
Once reassembled, power on your laptop and open the MyASUS diagnostic tools. Use the Fan Test in WinRE or within Windows to confirm the fan spins up properly and smoothly.
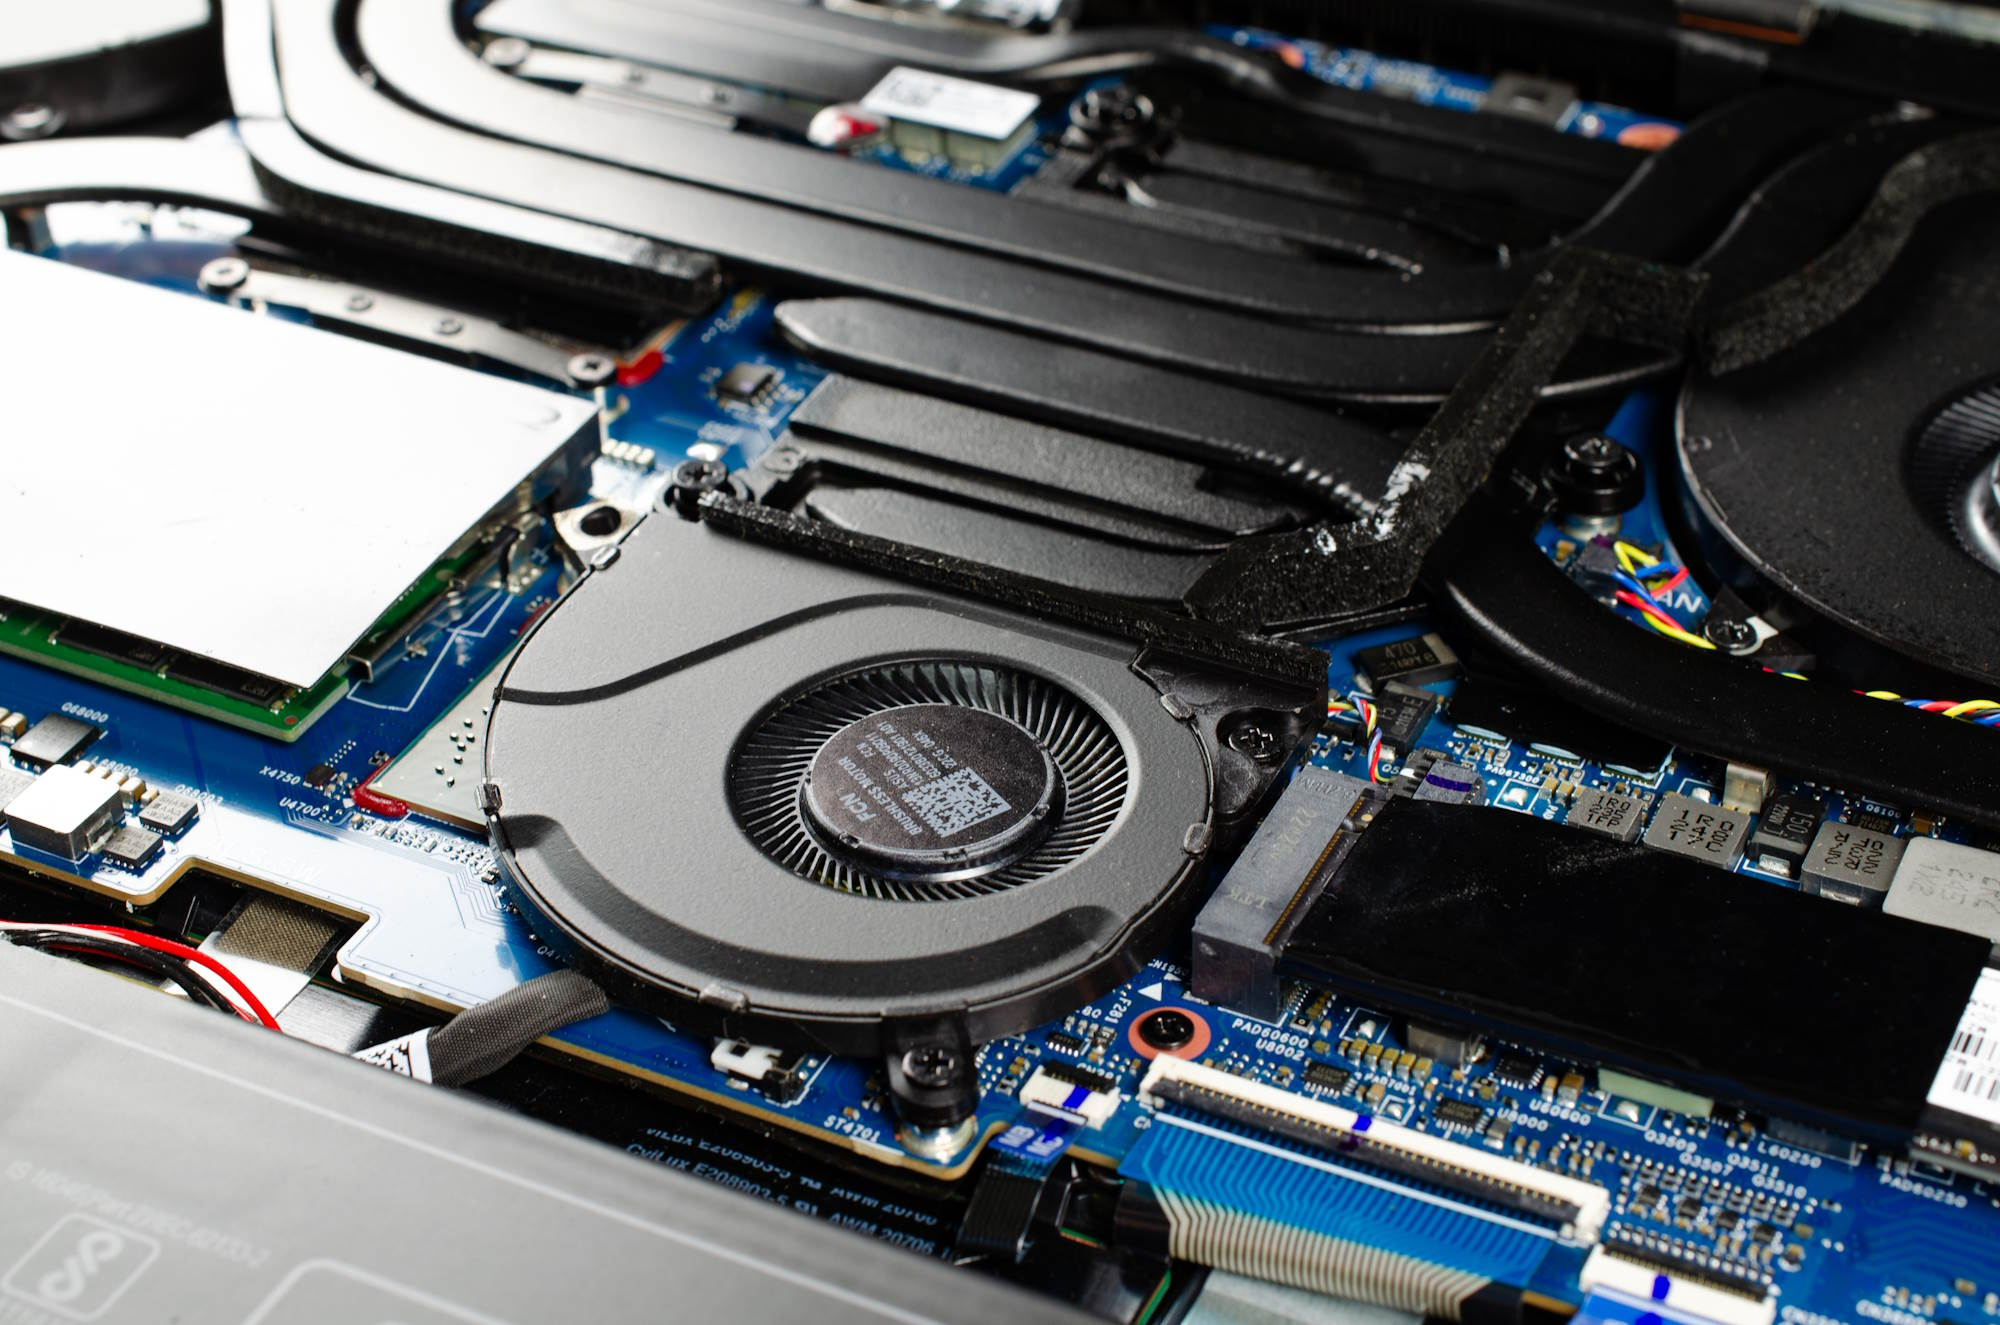
ROG Intelligent Cooling is a comprehensive suite of hardware and software features that Asus uses to manage heat in its high-performance gaming laptops.
Why it matters: Overheating and performance restoration
Replacing a failing fan not only reduces distracting noise but also restores proper thermal regulation. This avoids throttling and overheating that can lead to system hangs or shutdowns which are common symptoms when cooling fails.
Need Help or Support?
If you run into issues during your repair, our support portal is here to help: Asus Accessories Help Center. You can also explore video tutorials on our YouTube channel AccessoiresAsusTV for step-by-step visual guidance.