At Asus Accessories, we specialize in providing genuine replacement parts for all Asus products, including the ROG Ally and Ally X from performance-critical components like joystick modules to protective outer shells and precision screws.
ROG Ally & Ally X Joystick Drift? How to Replace the Stick Module
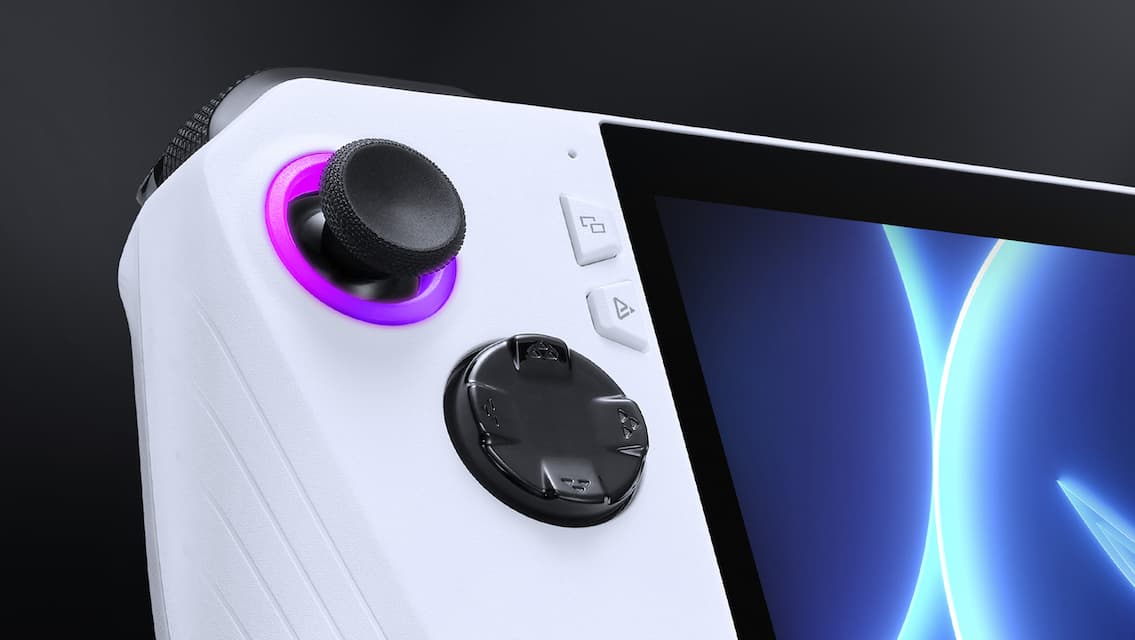
Is your Ally X joystick drifting, stuck in a dead‑zone, or unresponsive? Don’t let joystick issues keep you off the game. Learn how to safely diagnose and replace your ROG Ally joystick module at home in just a few steps. With a proper toolkit and patience, a smooth, drift‑free experience is within reach.
Unlike digital buttons, thumbsticks are analog sensors that translate tiny movements into electrical signals. Over time, normal wear on the internal sensor (and the wiper that reads it) can create “noise” around center. Dust or skin oils can also introduce slight resistance that the software interprets as motion. Impacts in a backpack, constant pressure while the device is stored, or heat cycles can accelerate this. That’s why drift often appears first as a slow crawl on one axis, then grows into a larger dead-zone or off-center reading. Replacing the stick module restores a clean signal, but how you use and store the Ally affects longevity just as much as playtime hours.
1. Diagnose Stick Drift and Dead‑Zone Issues
First, confirm the issue isn’t software‑related. Launch Armoury Crate and check joystick behavior with the diagnostic tools. Notice any unintended movements or zones where the stick doesn’t respond? That’s classic stick drift or a dead‑zone problem. Also, test via the Windows Game Controller Panel (“joy.cpl”). Move the stick and observe axis readings. If the stick drifts when idle or isn’t responsive at center, you likely need a new stick module.
2. Gather Your Tools Safely
Before you open your device, gather the following:
- Precision Phillips screwdriver
- Plastic pry tools or spudger to safely open the shell
- Optional: Ally console shell replacement if the plastic clips are worn
- New, official Asus joystick module
Having the right tools ensures you don’t damage the case or internal components. Need replacements? Check out our precision toolkit.
3. Opening the Unit
Power off your device completely. Remove all accessories and ensure a static‑free workspace. Using the precision screwdriver, remove the back cover screws carefully. Use the plastic pry tool to gently separate the shell as clips may resist at first.
To view the complete disassembly of the ROG Ally and more, head to our YouTube channel, Accessoires Asus TV.
4. Swap Left and/or Right Joystick Modules
Once open, locate the joystick module on the motherboard. Gently disconnect the ribbon cable or plug using the plastic pry tool if needed, avoiding direct strain on the cable. Remove the old joystick module.
Align the replacement module correctly, reconnect firmly, and ensure it’s seated flush. If replacing both left and right, repeat carefully on the other side.
Tip: While inside, double‑check other connections and dust buildup. This is a great time to refresh the internals without extra tear‑down.
5. Reassemble the Device
Snap the shell back into place, watching that no cables get pinched. Replace screws by tightening securely but not over‑torquing. After assembly, power your ROG Ally (or Ally X) back on.
6. Calibrate in Armoury Crate
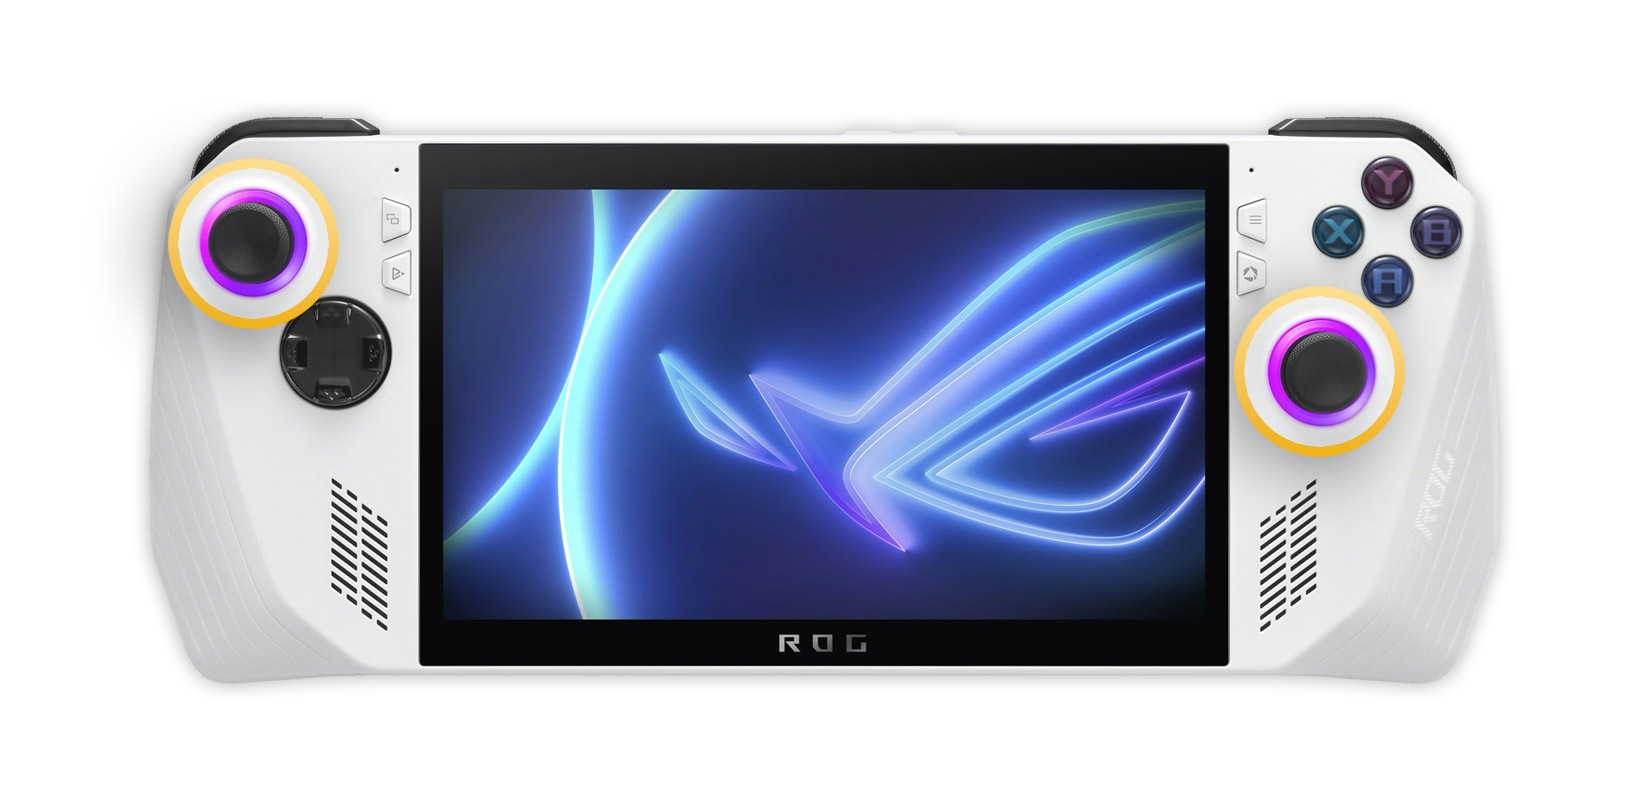
Open Armoury Crate and navigate to the controller calibration tool. You’ll typically find a joystick diagnostics section. Follow the on‑screen steps: move sticks through their ranges, check for drift, and reset dead‑zones if needed.
Armoury Crate’s calibration removes any range inaccuracies and ensures the newly installed module behaves as intended.

7. Test in the Game Controller Panel
Next, open Windows’ Controller Panel (“joy.cpl”). Select your device and click “Properties.” Move each stick to test the axis and buttons. You should see clean, centered axis readings with full range and no drift or dead‑zone around center. Everything should spring back to neutral when released.
If something looks off, revisit calibration in Armoury Crate or re‑check the socket connection inside.
Once everything is confirmed drift‑free and responsive, fire up your favorite game and enjoy smooth controls. Your Ally is now back to delivering precision and immersion.
Need more guidance? Browse our helpdesk for tons of articles like: Solve boot issues on your Asus ROG Ally and Ally X
Why This Matters
Joystick drift erodes control in fast‑paced games and ruins immersion. By learning to diagnose, open, swap modules, calibrate, and test, you're saving time and money (vs. professional service or replacement), restoring performance in under an hour. Plus, this knowledge is yours for future maintenance.